Years of traffic, spills, and environmental exposure can take their toll, leaving even the toughest floors looking worse for wear. But good news: you can give that floor a new lease of life! Reviving an older epoxy floor is possible, bringing back its protective qualities and stunning appearance. Unlock the hidden potential beneath that worn surface! Richfield Concrete has the expertise to help you tackle this task. Join us as we outline the crucial process on how to prepare an older epoxy floor for a new, smooth, intense, and spectacular coat.
How to Know if Your Epoxy Floor Is Ready for a New Coat
Before proceeding with any recoating efforts, it is critical to first thoroughly assess the existing epoxy on your garage floor. Understanding its current state will guide the necessary preparation work that follows.
- Inspect for adhesion issues: Check for areas where the epoxy is peeling, bubbling, or separating from the concrete. These signs indicate poor adhesion; applying a new coat won’t solve the problem. If delamination is severe, you may need to remove the existing epoxy entirely.
- Evaluate surface wear: While minor surface imperfections and light wear can typically be addressed through preparation for recoating, extensive wear-through often signifies that a complete strip-down and fresh application will provide a more durable and aesthetically superior outcome.
Inspecting your floor thoroughly is essential. This step reveals the condition of the existing epoxy and helps you decide on the best preparation method. Doing so ensures that your new coating sticks well and provides the durable finish you want.
Essential Steps in Surface Preparation
Failing to execute proper surface preparation is the most common reason for a recoating project failure. This vital step directly influences the durability of the applied coating, a key element among the broader factors affecting the longevity of concrete floors.
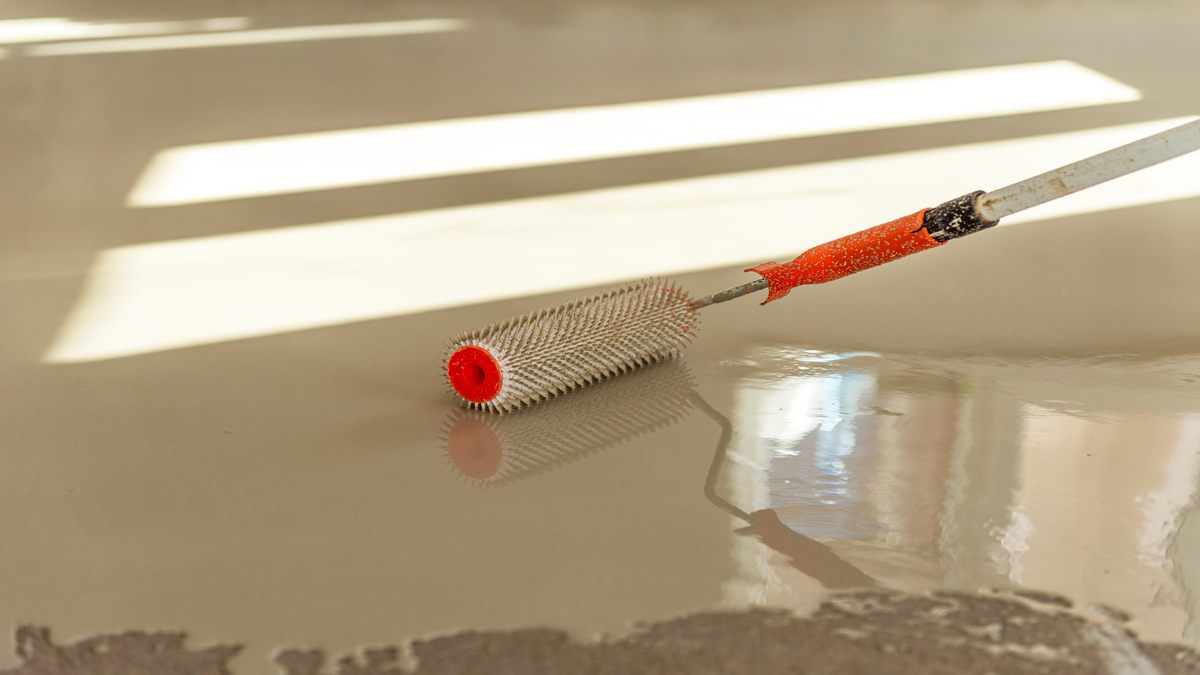
1. Thorough surface cleaning: Begin by meticulously cleaning the entire floor to remove all contaminants, such as dirt, grease, oil stains, tire marks, and any residues. Use a suitable degreaser for oil spots and ensure the surface is rinsed and free of any cleaning product remnants that could hinder adhesion.
2. Mechanical abrasion: The existing surface must be mechanically profiled to ensure the new epoxy forms a strong bond. This process, typically involving grinding or sanding, creates a ‘tooth’ or a slightly roughened texture on the old epoxy layer, providing the necessary anchor points for the new coating to grip onto securely.
3. Dust and debris removal: After abrasion, remove all dust and debris using a vacuum. Follow up with a wipe-down with a solvent like denatured alcohol to eliminate any remaining fine particles. This ensures the surface is immaculate and completely dry before proceeding.
Getting the surface ready is crucial for a successful epoxy recoating project. Following these straightforward techniques, such as knowing how to clean and seal a concrete driveway, is vital for maintaining concrete surfaces effectively.
Testing the Surface for Suitability
Before applying the new epoxy, it’s essential to perform a simple test to ensure your preparation steps have created a surface ready for bonding.
The Adhesion Test
Apply a small patch on a discreet spot to ensure your surface is primed for the new epoxy. Let it cure thoroughly according to the manufacturer’s guidelines. After curing, take a utility knife and gently try to peel it off. If it bonds securely, your preparation was spot on, and you’re ready to move forward. However, if the patch lifts easily, this is a clear sign that additional cleaning or mechanical sanding is needed to achieve optimal adhesion for a successful proper epoxy application.
Three Mistakes to Avoid When Recoating an Epoxy Floor
Achieving a successful epoxy recoat requires understanding common mistakes that can undermine your efforts. Avoid these three pitfalls to ensure a durable finish:
Mistake #1: Inadequate surface preparation
Failing to thoroughly clean, degrease, and adequately abrade the existing epoxy prevents the new coating from bonding correctly, almost guaranteeing premature failure.
Mistake #2: Applying over damaged areas
Do not simply coat over areas already peeling, bubbling, or lifting. These issues must be repaired or removed first; otherwise, the new epoxy will fail in those weak spots.
Mistake #3: Ignoring manufacturer guidelines
Neglecting the guidelines can sabotage your epoxy project. Precise mixing ratios, temperature, and cure times are crucial for a strong bond. Skipping these steps can result in a weak and poorly cured finish.
Upgrade Your Existing Epoxy Floor: Get Expert Help Today
Preparing an older epoxy floor for a new coat requires attention to detail and adherence to best practices. At Richfield Concrete, we specialize in providing top-quality concrete and paving services tailored to the unique needs of Minneapolis homeowners. Our experienced team is equipped to assess your existing epoxy floor, recommend the best action, and execute the recoating process precisely. Whether you want to refresh your garage floor or undertake a more extensive renovation, get it done right. Contact Richfield Concrete today to schedule a consultation.